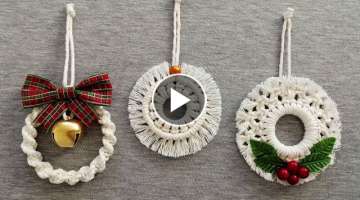
Macrame Tutorial Mini Flower Wall Hanging 349
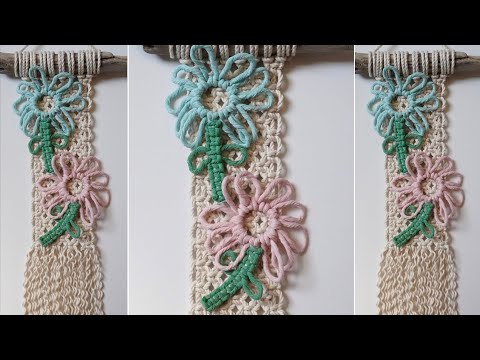
DIY Macrame Tutorial: Mini Flower Wall Hanging - Please see below for materials and written instructions. Shop my book, Mixed Fiber Macrame, and Fiber Art Supplies (string, rope roving, ribbons, velvet and more) on my website or in my Etsy Shop: Website: https://lotsofknots.ca Etsy Shop: https://www.etsy.com/ca/shop/LotsofKnotsCanada Support me directly: https://ko-fi.com/lotsofknotscanada Material: - 56 ft of 4mm Rope (Colour: Natural) - 3mm String (Colours: Paradise, Baby Pink, Shamrock Green - please see below for a link to the tutorial to create these flowers which includes further details) Hey guys! I’ve decided that for the month of May I’ll be focusing on flower tutorials so stay tuned for those in the coming weeks! Today I’m going to show you how to create a mini wall hanging and then how to attach these flowers to it. If you’re interested in the tutorial for these flowers please click here: https://www.youtube.com/watch?v=uIK3-yvrZ6k This wall hanging measures 19 inches long and the driftwood is 10 inches wide. The square knot itself, not including the fringe, is 10 inches long by 4 inches wide. Let’s get started! Cut 8 pieces of 4mm rope, each piece is 7 feet long. Fold each piece in half and attach each to your driftwood using a Lark’s Head Knot. We are going to make a flat surface that we can use to attach our flowers to later on. To do this we will tie alternating rows of square knots (SKs). Tie 4 SKs across your work. Tie 3 SKs across your work. Repeat that pattern until you’ve tied 23 rows of SKs total. To ensure your work doesn’t pinch in leave the appropriate amount of space in between your rows of 4 square knots. Here’s what it should look like once finished. Use a needle and thread to attach your flowers to the SK section. If you want to secure down the petals you can but I want mine to pop out from the back to I’m only going to secure the flower to the SK section in two spots - at the top of the ring and the middle of the stem. Thread your needle above and below the ring a couple of times and then tie a double knot with the thread at the back of your work and cut off the access thread. The one end of the thread is at the front of my work - I should have started at the back of my work but didn’t realize it at the time so I’ll just thread this end through to the back and then tie a double knot with the two ends. Repeat that process to attach the stem going above then under a piece of the string to secure the stem in place. You could also secure the stem again at the bottom if you’d like. Repeat to attach your second flower. Cut the ends and untwist them if you’d like, I cut the ends about 1 ft long. That’s it! Thanks for watching!
Sponsored
Video
Share
Sponsored
Facebook Comments
Popular Videos
Sponsored